Showing posts with label Tutorial. Show all posts

Saturday, July 28, 2012

Cat Eye Tutorial


You are going to want to use a liquid eyeliner in black to get the desired look. My favorite liquid eyeliner is Revlon's ColorStay. It has a sponge tip instead of a thin brush. I feel like it is easier to use and I have more control trying to draw a smooth line.


Your going to start by drawing a line along your lash line. Start at the inner corner of your eye and drag your eyeliner along your lash line to the outer corner. Stay right up to your lash line (don't leave any gaps) and follow your eyes natural curve. (Tip: I rest my elbow on the counter while drawing my line. It gives me more control and a steadier hand.)


Then you are going to want to draw a line that extends past your eyelash line. I use the angle of my lower lid and draw from there. You can also imagine a line from the outside corner to the end of your brow, that becomes the angle for the wing.  


Here is another angle so you can see that the line is an extenuation of my lower lid. You are going to want to use light brush strokes, slowly draw the wing at that angle. 


Then just fill in the corner of your liner creating a smooth line.


Tada.

The fun thing about this look, is that you can go as dramatic as you would like, just by making your line thicker and your wing longer.

Saturday, July 21, 2012

Daily Make-up Routine

This is my daily, go-to make-up routine!


Here is my lovely make-up bowl. I am sure there is an easier way to organize your make-up, but everything I use on a daily basis is right there.


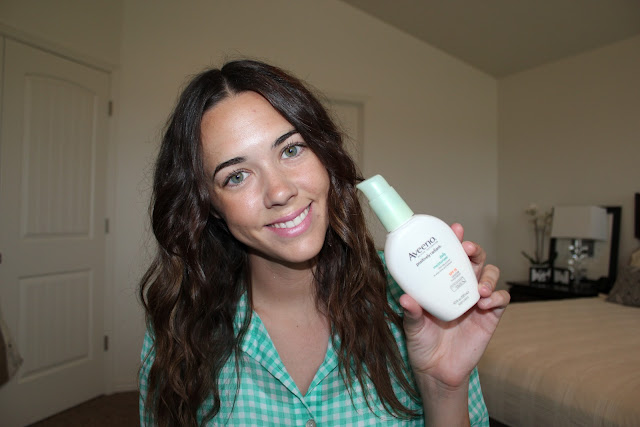
I first start with Aveeno Positively Radiant Daily Moisturizer. This is by far my favorite face moisturizer! I absolutely love it.


Then I use Rimmel London Bronzer - Sun Light on my face


Then I apply e.l.f. Mineral Eyeshadow Primer on my eyelids and under my eyes.


I love e.l.f.'s face brightener. I use it on my eyelids, inner eye crease, and under my eyes before I apply my eyeshadow.


Then I use an eyeshadow brush to apply CoverGirl in Taupe.


Then I use a smudge brush to apply e.l.f eyeshadow - darker taupe color 


I put it on my lids and under my eyes.


I love Rimmel's Soft Kohl eyeliners. 


Right now I am using Rimmel's The Max Bold Curves mascara. I switch up my mascara every time I need to buy some more. This is my first time using this line - I love it so far.


Boy, I am using a lot of Rimmel lately! This is my favorite pink lipstick right now - it is Rimmel's Pink Blush.


Tada, that is it! Pretty much what I do every morning.


Friday, July 20, 2012

No-Heat Hair Style Tutuorial


I wanted to do a video tutorial for this hair style, but my camera was just not cooperating... oh well! So here it is, in my fresh face, no make-up glory! Start with your hair damp/towel dried. You are going to comb through it and part it down the middle and section it into two. Don't worry about the part being perfect.

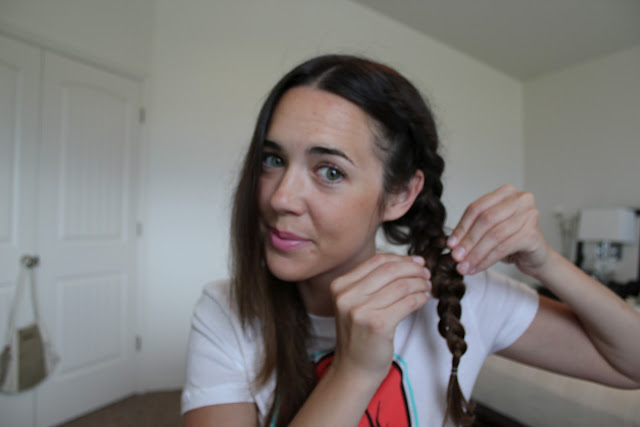
You are then going to Dutch Braid your Hair on both sides of your part. (Dutch braiding is just like French Braiding except you braid under instead of over.) And remember, your braid doesn't have to be perfect, so don't stress about it looking good.


Once you get to about three inches left, stop your braid there and tie it off with an elastic. You don't want to braid all the way down to the ends because you need to leave room for this next step...


You then want to loosen your entire braid from top to bottom. If your braid is too tight, your hair will be too crinkled in the morning. Make sure you especially loosen the bottom part of your braid. Push your hair tie down so you have room to widen your ends.


You want your braid nice and poofy, like this!


Then repeat those steps on the other side!

Now it is time to let these suckers dry. If you choose to sleep on your braid, it should be nice and dry in the morning. Once your braids are fully dry, you are ready to take them out.


I like to use Bed Head After Party to control the frizz.


Just use a small amount! You don't want your hair to look greasy and spread it through your hair evenly. Then use a surf wax to get some volume and texture and scrunch it through your hair.


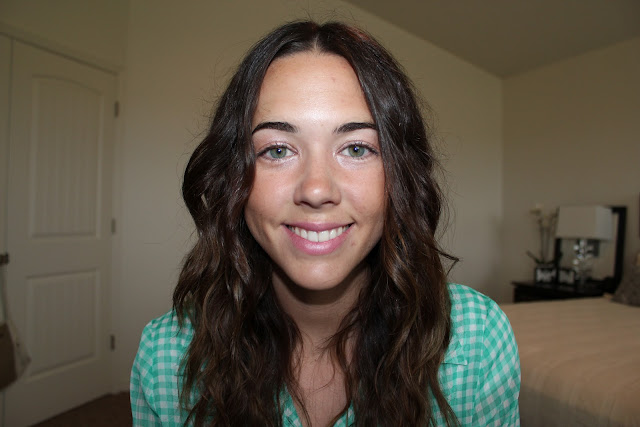
The final product should look something like this!


Tada! Now I am going to put some make-up on.